Complete Setup Guide: Getting the Most from Your Bird Feeder Camera
Getting a new smart bird feeder camera up and running correctly takes about 30–45 minutes if you know what you're doing. This complete setup guide walks through every step — from choosing the right feeder location to configuring motion sensitivity and AI settings — so your first bird visit is captured perfectly.
Before You Start
Charge the camera fully before installation. Most cameras arrive partially charged, but a full charge baseline ensures you understand normal battery behavior from day one. Charge via the included USB-C cable for 3–4 hours before mounting. Download the companion app before you go outside. Create your account, familiarize yourself with the interface, and note any initial app updates that need to download. Having the app ready and updated prevents frustrating delays during the physical setup process. Check your Wi-Fi signal at the planned feeder location. Use your smartphone to test Wi-Fi strength where the feeder will be mounted. You need at least a moderate signal (2+ bars) for reliable connectivity. If the signal is weak, consider moving the feeder closer to the house, installing a Wi-Fi range extender in a window near the feeder, or using a mesh Wi-Fi system (highly recommended for backyard IoT devices). Identify the right microSD card if your camera uses local storage. Purchase a high-endurance card (Samsung Endurance or SanDisk Endurance series) in the appropriate size for your camera and usage level. Avoid generic or ultra-budget cards — they fail prematurely in continuous outdoor recording environments.
Feeder & Camera Placement
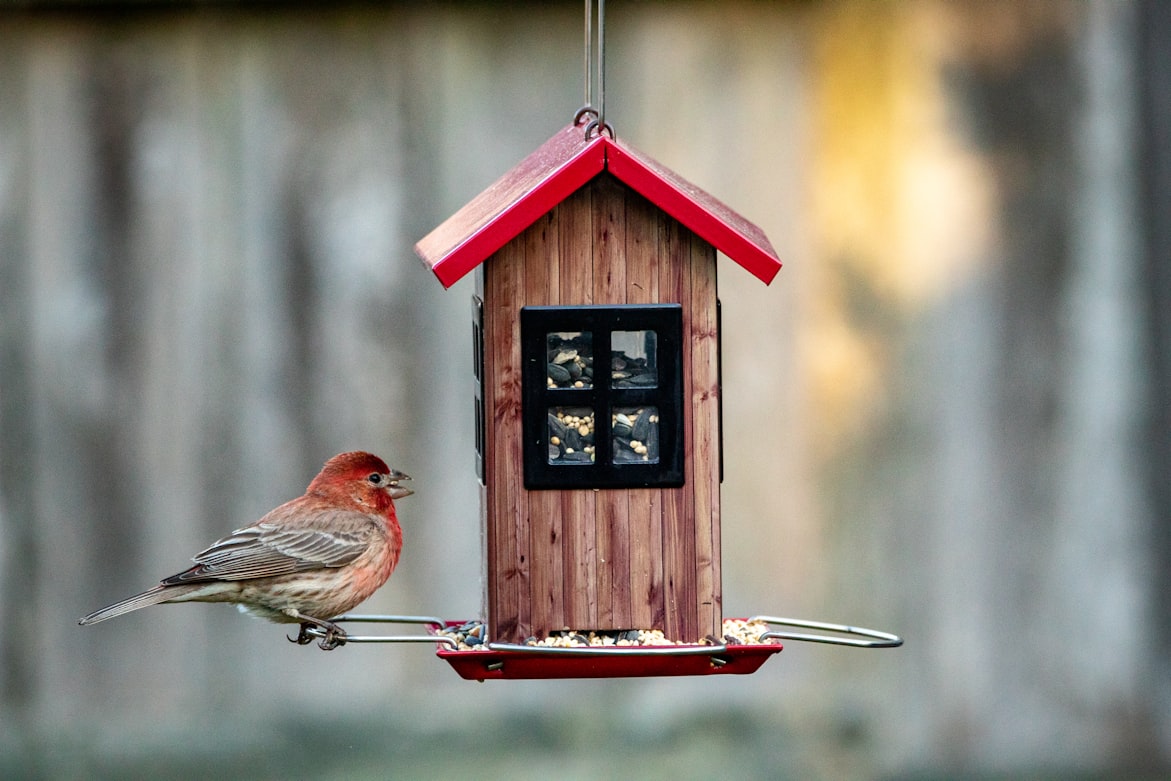
Select your feeder location with birds and camera in mind simultaneously — they have slightly different requirements that you'll need to balance. For birds: proximity to natural cover (within 10–15 feet of shrubs or trees gives birds a shelter point to retreat to between feeder visits), protection from prevailing winds, and away from high-traffic human areas. For camera: unobstructed background, good natural lighting (sun behind camera, not in front), and Wi-Fi signal access. Position the camera at the height of the primary perching area. Most platform feeders work best with the camera at tray height, positioned at the end or side of the tray — not overhead. Follow the manufacturer's recommended mounting distance exactly on your first setup. You can experiment with positioning later, but starting in the recommended zone gives you a baseline to compare against. Mount the camera before filling the feeder. Birds encountering both the camera and fresh food simultaneously habituate faster than birds that have established routines before a camera appears.
Related Review
Best Smart Bird Feeder Cameras
If you're setting up your first smart feeder, these top-rated cameras have the best guided setup experiences.
Wi-Fi & App Connection
Follow these steps in order for the smoothest Wi-Fi setup. Step 1: Put the camera in pairing mode (usually a 5-second button hold — consult your manual). Step 2: In the app, select 'Add Device' and choose your camera model. Step 3: Enter your 2.4GHz Wi-Fi network name and password exactly as configured in your router. Note: if you have a dual-band router that uses the same name for 2.4GHz and 5GHz, you may need to temporarily split them in your router settings or use the 2.4GHz-specific band name. Step 4: Hold your phone close to the camera during the QR code pairing phase — the camera's optical sensor reads the QR code from your phone screen. If pairing fails, check: camera is in pairing mode (often indicated by a specific LED pattern), phone is connected to the correct 2.4GHz network (not 5GHz), password was entered correctly with exact capitalization and special characters. Most pairing failures are password or network band issues.
Settings Optimization
Motion sensitivity: Start at the default (medium) sensitivity. After 2–3 days, review your event clips. If you're getting many false triggers from waving branches or grass, reduce sensitivity or use motion zone settings to exclude background movement areas. If you're missing bird arrivals, increase sensitivity. AI identification: Enable all AI features available on your plan. Set the notification frequency to 'smart summary' or 'highlights only' if the full notification volume is overwhelming in the first days. Most apps let you adjust this without losing any footage. Recording mode: If your camera supports it, choose event-triggered recording (clips triggered by motion) rather than continuous recording — it saves storage and battery dramatically while capturing all bird activity. If you want complete continuous recording, set a longer event buffer (20–30 seconds before and after motion) to ensure you capture approach and departure. Night mode: Enable automatic day/night switching. Test the night mode on the first evening by checking a live view around dusk. Ensure the infrared LEDs or color night sensor are producing a clear image of the feeder area before the next morning.
Related Review
Best 4K Bird Feeder Cameras
For the sharpest possible footage of your feeder birds — including 4K and 2K HDR options.
The First Days: What to Expect
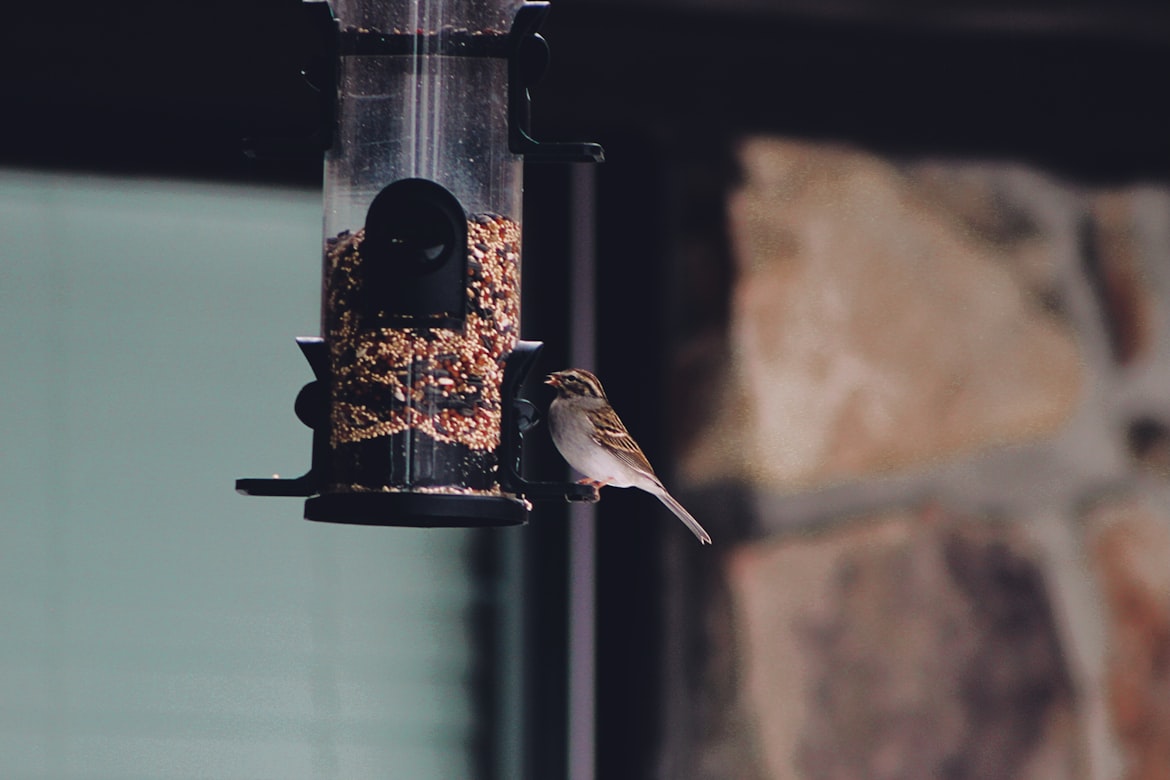
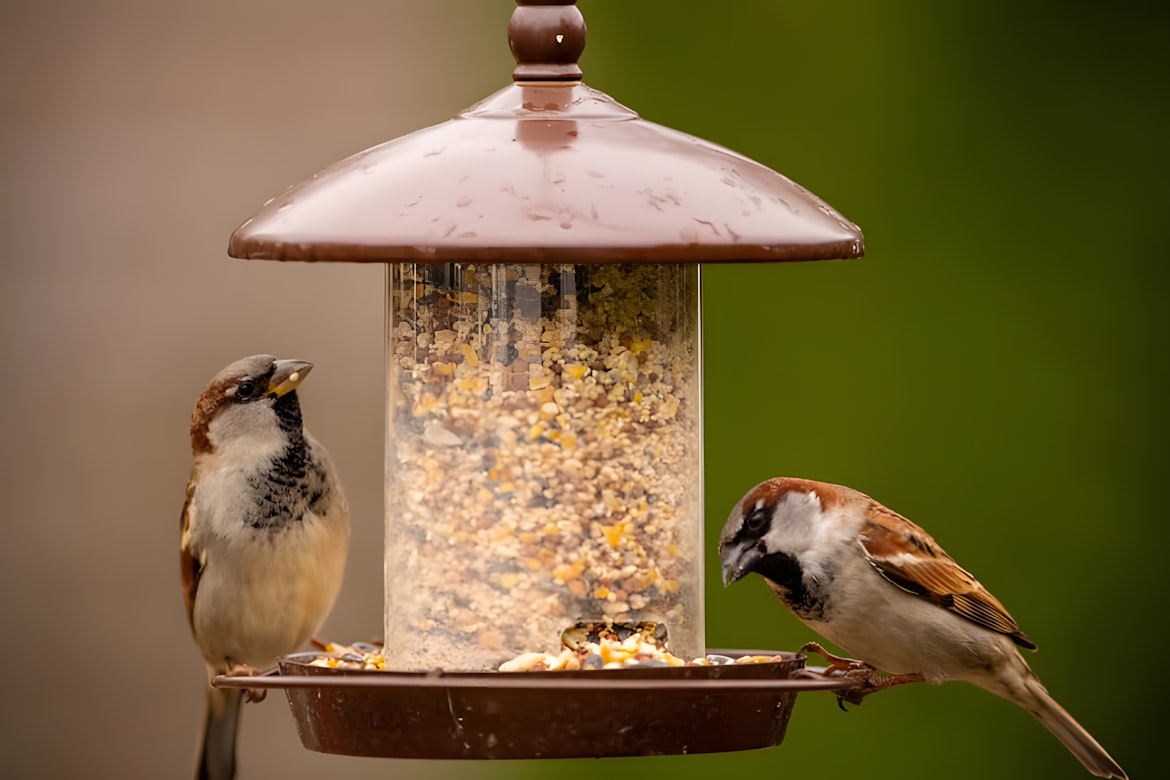
Day 1: The camera is new in the landscape. Shy species may avoid the feeder entirely or approach with caution. Bold species (House Sparrows, chickadees) may start visiting within hours. Don't be discouraged by quiet first hours — birds are watching from cover before committing. Days 2–5: Activity increases significantly as birds habituate to the camera's presence. Review your event clips daily to adjust motion sensitivity and camera positioning if needed. You'll quickly identify the ideal positions as you see how birds approach and where they perch. Day 7+: For most backyard species, behavior is normalized. Your AI life list starts filling with repeat visitors. Tune your notification preferences to match your desired engagement level — some users want every identification; others prefer a daily summary. The first month is genuinely exciting as you discover which species visit at which times of day, which feeding patterns emerge, and which seeds attract which birds. Most new smart feeder owners report that bird feeding becomes significantly more engaging once they can identify every visitor by name.
Frequently Asked Questions
Related Guides