Where to Place Your Bird Feeder Camera for Best Results
Camera placement is the single most controllable variable in the quality of your bird feeder footage. A premium camera in a poor position delivers worse results than a budget camera perfectly placed. This guide shares everything based on analysis of dozens of real-world camera placement reports.
Optimal Distance from Feeder
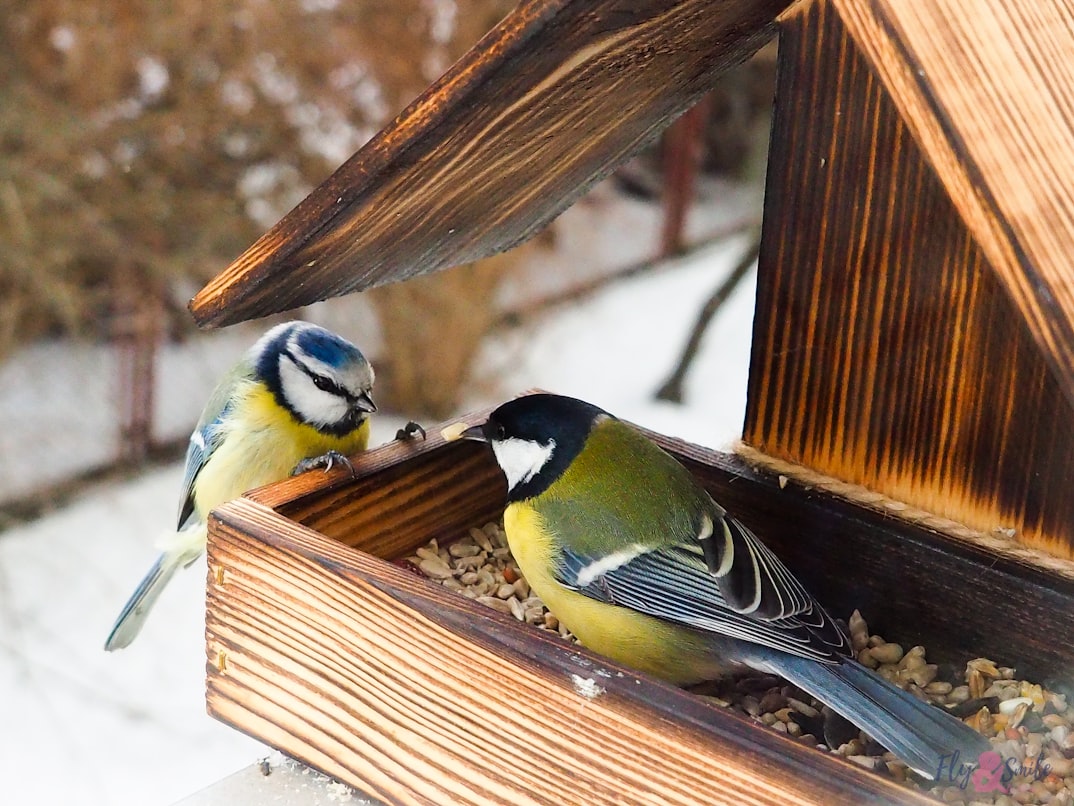
Most smart bird feeder cameras are optimized for a distance of 6–18 inches from the perching area. At this range, a wide-angle lens captures the bird's full body with enough resolution for reliable AI identification. Mounting too close (under 4 inches) results in extremely wide distortion and may capture only part of a larger bird. Mounting too far (over 24 inches) reduces the apparent size of small birds, leading to lower AI confidence scores and blurrier detail for manual identification. The ideal target is to fill approximately 30–50% of the frame with a medium-sized bird (cardinal or robin sized) when it's perched at the closest feeding point.
Height & Angle
Eye-level cameras (where the lens is at the same height as the perch or feeding tray) produce the most natural-looking footage and the best full-profile views for AI identification. Overhead angles (camera mounted above the feeder pointing down) increase the chance of capturing top-of-head views, which are harder for AI to identify accurately. Below-level angles can produce dramatic upward-looking shots but may show mostly belly feathers rather than the distinctive back and face markings used for identification. For platform and tray feeders, position the camera at tray level on the side or end of the feeder. For tube feeders, mount at the height of the most-used perch port. For nectar feeders, use a dedicated hummingbird feeder camera (Birdfy Hum Duo) or position at port height on the side.
Related Review
Best Squirrel-Proof Bird Feeder Cameras
Squirrel-proof cameras combine smart placement features with deterrent mechanisms — and come with mounting hardware optimized for ideal positioning.
Lighting Considerations
Backlighting is the enemy of bird identification photography. A bird between the camera and the sun appears as a dark silhouette — beautiful to look at but useless for AI identification or field mark inspection. Assess your feeder location at different times of day before finalizing placement. Ideally, the sun should be behind or beside the camera, illuminating the bird rather than the background. North-facing feeders with the camera on the south side work well throughout the day. Partially shaded locations produce more consistent lighting than those in direct, harsh midday sun — bright sun creates overexposed highlights on white wing patches and blocks detail in shadows. If your feeder location has no ideal lighting option, choose a camera with HDR (High Dynamic Range) processing, which significantly reduces the impact of challenging light.
Background Matters
AI identification accuracy improves when the bird is isolated against a clean background — a fence panel, clear sky, or foliage without competing visual complexity. Busy backgrounds with branches, overlapping feeders, or other objects can cause the AI to struggle with bird edges or mistake background patterns for plumage. For the cleanest results, position the feeder so that birds are visible against the sky or a single-color surface when perched at the closest point. This simple adjustment can improve AI identification accuracy by 10–15% based on specs and user reports. Bird-friendly backgrounds also reduce false trigger events — a background of waving leaves generates constant motion alerts, draining battery and storage faster than necessary.
Mounting Methods
Smart bird feeder cameras mount in three main ways: integrated (part of the feeder housing, as on Bird Buddy PRO), clamp-on (attaches to feeder rims, poles, or railing), and independent pole/stake mount. Integrated mounts offer the optimal position engineered by the manufacturer — start here if your camera supports it. Clamp-on mounts offer more flexibility but require that the feeder rim or post be the right diameter for the clamp. Pole mounts provide maximum flexibility — mount the camera anywhere on any existing pole or post. Stability is critical: a swaying camera in wind generates constant false motion triggers. Choose mounts with lockable, vibration-resistant connections. For hanging feeders, position the camera on a nearby stable surface rather than hanging it — hanging cameras swing in wind and produce unusable footage.
Frequently Asked Questions
Related Guides